At Black Pug Studio, we have been recommending the services offered by Shopify for a while now. We believe that it is a strong platform in terms of technology, UI, UX and SEO. If your budget is tight and you are looking for a quick and simple way to get your products out there, consider using it.
It is because we enjoy working with Shopify that we decided to try developing our first Shopify App to be listed on the Shopify App Store.
In this article, I will tell you about my experience as a developer during this process, and give feedback about the tools offered by Shopify, the quality and clarity of the documentation, and a few tips and tricks that I learned along the way.
Getting started
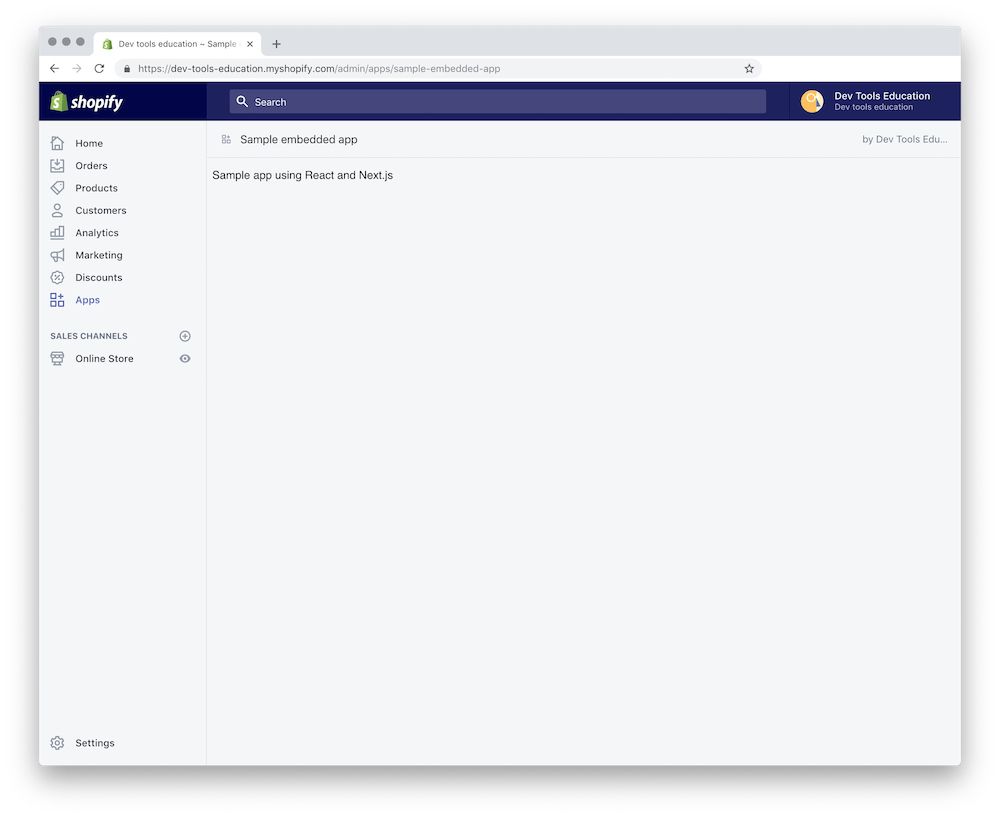
The way a Shopify Embedded App works is pretty simple. Your app is hosted on your web server, served using HTTPS, and is loaded within the customer’s Shopify administrator interface in an iframe.
Shopify gives us a choice between multiple stacks to start building your embedded app:
We can also use the new Shopify CLI that automatically creates and configures our development environment, and gives us access to some boilerplate code, it’s pretty great!
In our case, we went for the NodeJS + React stack. It gives you access to Shopify’s Polaris interface, GraphQL, Apollo, preconfigured NextJS, and a premade authentication gate using Koa.
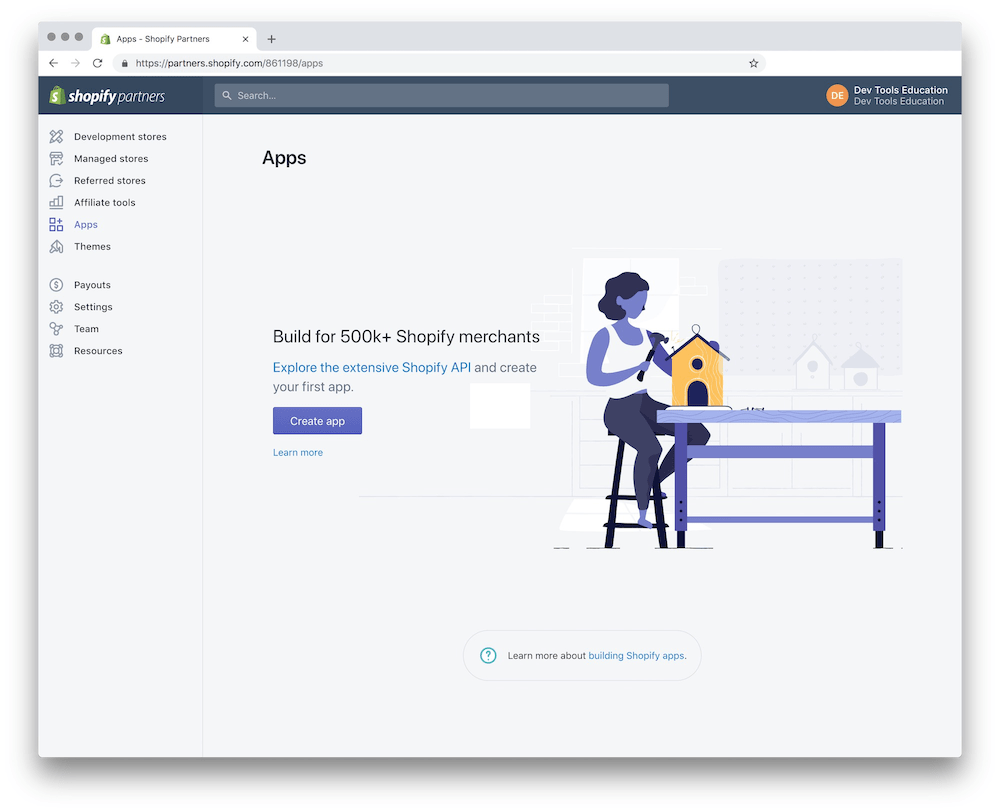
The only thing left to do is to create an app on the Shopify’s developer portal and start coding!
The App: PugSync for Medium
The objective of our app is simple: to synchronize automatically your Medium posts with your Shopify blog.
To make it possible, we needed a few things:
- a process to test and deploy our app
- access to the Shopify admin API to manage blog posts
- a way to bill our customers for using the service
Test & deploy
When creating your app using the Shopify CLI, you are presented with a folder containing the pages of your app’s front-end and a server folder where the back-end logic of your app resides.
The Shopify CLI gives us a quick way to serve our app with hot module reload by tunnelling our localhost environment using ngrok. To serve the app, use the following command: shopify serve . It starts a tunnel and launches the app.
Note: Tunnels created with ngrok without an account timeout after a few hours and have a limit of 20 requests per minute. It’s not a lot because each asset loaded counts as a request, so you can probably reload your app once per minute.
Shopify includes Jest by default to unit test our JavaScript/React code before serving it. It also makes the implementation of a CI/CD process quite easy.
For our production environment, our app is served on Google App Engine in an environment that automatically scales and load balances requests depending on the amount of traffic.
Shopify admin REST API
The REST API requires us to be authenticated in order to make requests. When a store loads our embedded app it automatically goes through the authentication gate preconfigured by the CLI. If everything goes well, the user’s access token and shop domain is stored in the session created by Koa.
Note: This crucial information was hard to find: the access token provided in the session variable is permanent. If you store your users access tokens and update your API credentials, you can generate a refresh token to update your existing tokens.
Now that we have our access token, we can simply pass it to authenticate our API request using the X-Shopify-Access-Token header.
The REST API is actually very well documented and we had no issues while using it which is not always the case with REST APIs.
The Billing Process
That part was a little confusing. The app submission process includes a part about pricing where you’re able to define the pricing strategy for your app: free, one-time payment or monthly recurring payments. But you still need to implement the billing process yourself using the Billing API.
The billing process is a bit complex to implement but there’s a very handy guide available.
Note: You can send a “test” boolean set to true when creating your one-time or recurring charge via the API in order to test your billing process.
Because we’re going for recurring payments, we needed to implement some extra logic to check if the user’s subscription was still active and paid for.
Note: When a customer uninstalls the app, their subscription is automatically cancelled.
App submission process
Once our app fully tested, we went ahead and deployed it on our production environment on Google App Engine. Nothing too crazy really, we just had to update our app URL and to whitelist the new authentication endpoint to connect with Shopify.
We were ready to fill in our app submission. The form used to submit the app is straightforward and did not take long to complete: name of the app, icon, screenshots, description, pricing, key features, and steps to test the app.
The rest is handled by Shopify’s QA team that goes through the process of testing your app and making sure that it is compliant with their policies.
The review process
After submitting the app, we waited for about a week before receiving our first answer by email from the QA team asking us to modify a few things in order to comply with Shopify’s rules and policies.
The great thing is that from this point you can communicate with the person in charge of your submission directly via email. In our case, the response time was incredibly fast and the answers always helpful and encouraging.
Once modified and validated, our app was finally published on the Shopify App Store and even featured in the “New & Noteworthy” category, right on the homepage!
Final notes
The developer experience provided by Shopify is pretty flawless. We had a great time using the REST API, documentation, and especially the Shopify CLI which made the whole setting up process very quick allowing us to focus on the development.
In addition, the QA team was extremely helpful and available. They helped us identify and fix issues, sent screen captures and logs, and encouraged us every step of the way.
Of course, there’s room for improvement. The documentation is vast and sometimes information are scattered across multiple pages. And it would be great to tell developers that they have to implement the billing process themselves.
Shopify clearly joins our list of best tech products to work with along with Stripe, Twitch, Discourse, Firebase and others.
We definitely recommend other developers to give it a shot and build their own apps and join the Shopify App Store.
Building a Shopify App was originally published in Creative by Black Pug Studio on Medium, where people are continuing the conversation by highlighting and responding to this story.